I have been reviewing some of my selling manuals and tapes over the past few weeks. One reference that I have been looking at is my Bruce Baker CDs. In his Sales CD, he suggests that an artist NEVER says thank you when someone compliments their work, unless a sale is underway.
That sounds really counterintuitive to me. But if you think about it, it does make sense. If you have done any craft shows, think back at what happens when you say thank you to a compliment. Does that person typically pick up some of your work to purchase, or do they walk off to the next booth?
On rare occasions, I have had someone compliment my work and then buy something after I accepted their compliment. Most times however, I have seen a customer compliment me, I said thank you, and they went to the next booth down the line.
Bruce Baker suggests that instead of saying thank you, that we use that opportunity to sell our work. It might go something like this:
Customer: This is such a great design.
Artist: I am so glad you like my work, let me tell you what makes this unique…..
By saying No to the Thank you, we now have a chance to create a more intriguing conversation about our work. We have a chance to tell the story behind our creations.
Just some food for thought. Enjoy your day!
Tuesday, August 4, 2009

Saturday, August 1, 2009
I got a treasury!!/ SHARK WEEK
I actually managed to grab a treasury last night. Please stop by and click the treasury :)
Here is the link: http://www.etsy.com/treasury_list_west.php?room_id=63036
Also just to let you know I am having a sale for Shark Week! I am offering Free Shipping on all of my Reclaimed Stained Glass Pendants. Plus the following five items have free shipping and are 20% off their original price!
Evening in the Desert
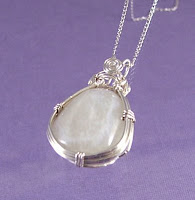
One of a Kind - White Moonstone Pendant Necklace
Exqusite Red and Blue African Pietersite Pendant Necklace
Topsail Island Emerald Green Sea Glass Necklace
Katherine's Cross
Here is the link: http://www.etsy.com/treasury_list_west.php?room_id=63036
Also just to let you know I am having a sale for Shark Week! I am offering Free Shipping on all of my Reclaimed Stained Glass Pendants. Plus the following five items have free shipping and are 20% off their original price!
Evening in the Desert
One of a Kind - White Moonstone Pendant Necklace
Exqusite Red and Blue African Pietersite Pendant Necklace
Topsail Island Emerald Green Sea Glass Necklace
Katherine's Cross
Wednesday, July 29, 2009
Katherine's Cross
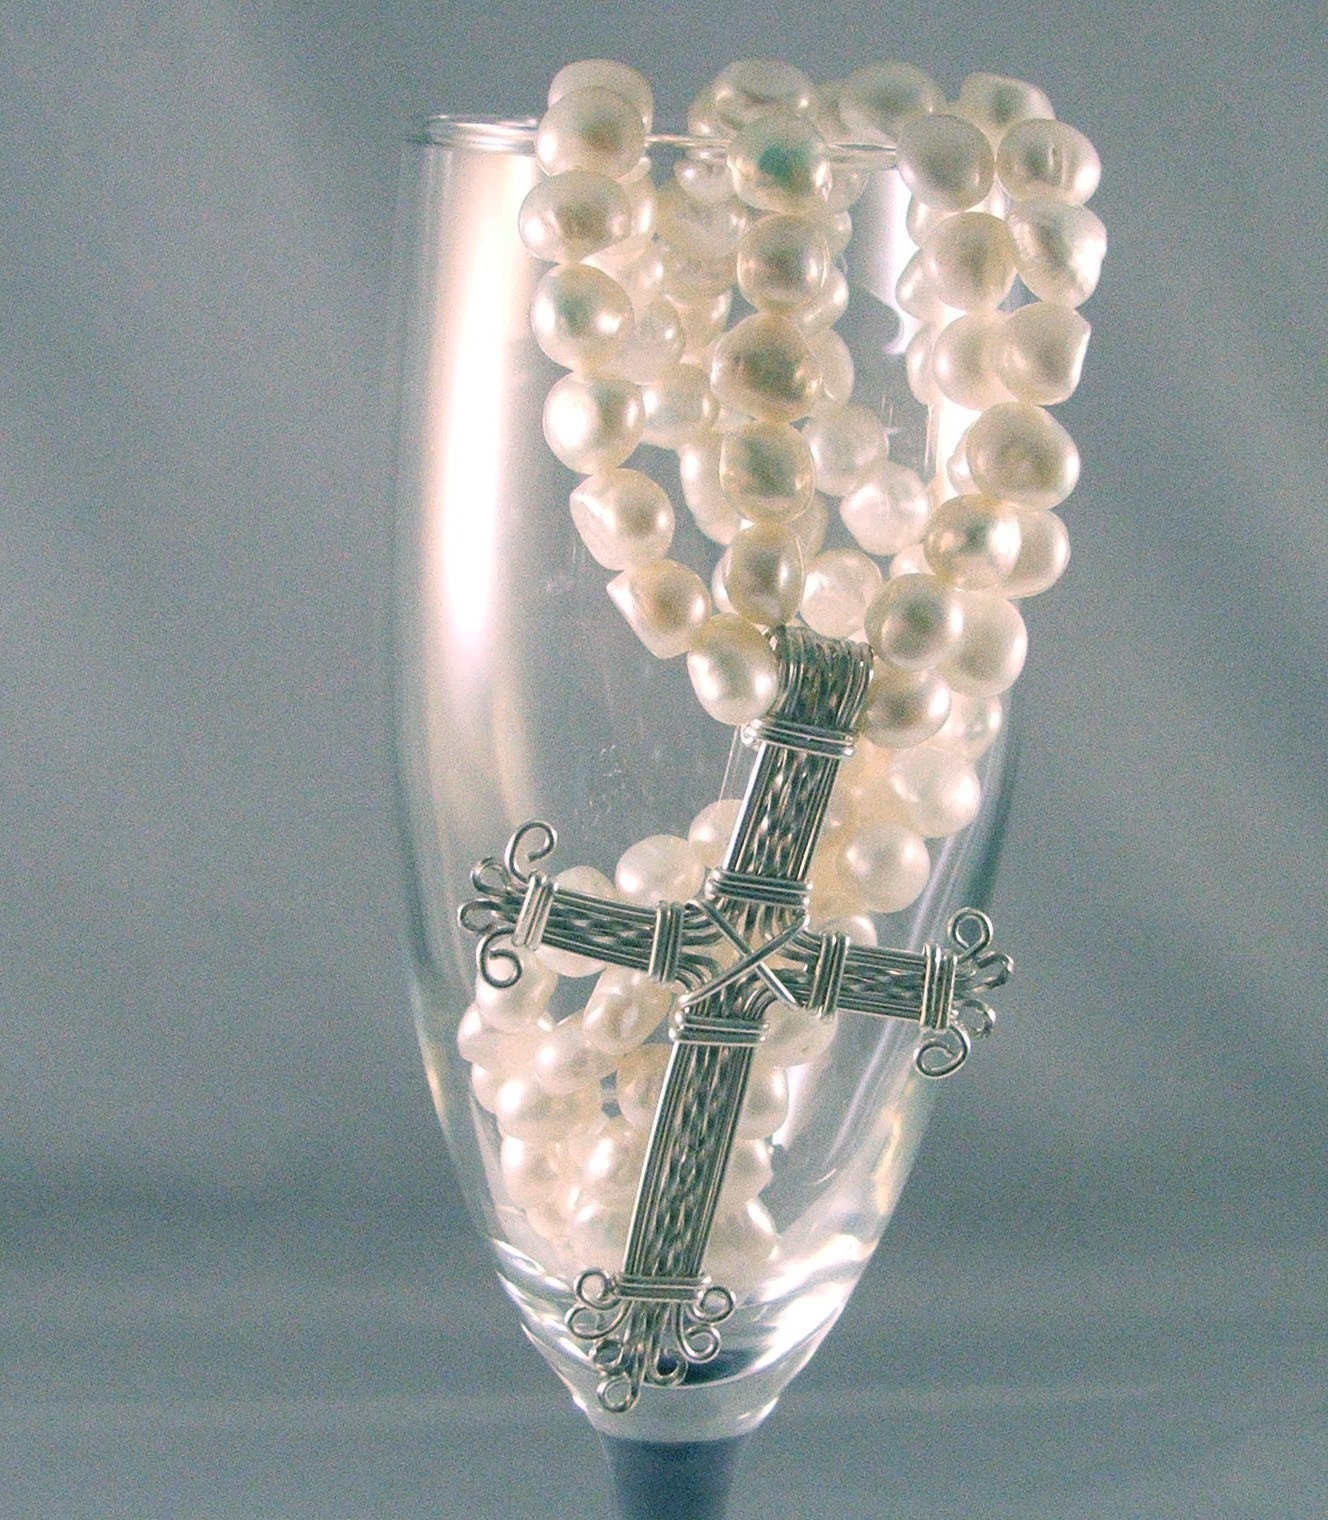 This is my newest listing! Inspired by Showtime’s series the Tudors; this necklace has a distinct Renaissance feel to it. I also think that the filigree cross brings a Spanish feel to this treasure. In my mind I could easily see Queen Katherine of Aragon wearing such a work of art.
This necklace has a wearable length of 16.5 inches and contains 110 cultured potato pearls. The necklace is finished off with a sterling silver wire wrapped filigree cross. Truly this necklace was made for a queen!
Would you like to purchase this necklace? You can buy it here!
Sunday, July 26, 2009
Time to stop and smell the roses
Sorry I have not posted much in the last week, life has been hectic. Last Tuesday, one of my cats had to have surgery to remove a tumor on her leg. On Thursday the biopsy came back positive for cancer. I have been spending time with her, working on getting her leg to heal. Logically I know that the cancer is probably still there and will likely kill her, but at least we (my husband and I) have made her life a bit more comfortable by removing the tumor.

On a happier note, my son will turn one in two weeks. I have been working on the plans for his birthday party. We also have been shopping for him. Lucky for us there was a hugh kids consignment sale this past weekend. Although we did not like the crowd, we did get some good deals.
Ok on to Etsy and marketing. To keep my mind off of the melencoly of my kitty's surgery I have been working on a new piece. I hope to load it on Etsy this week. I am going to call it Katharine's Cross. Here is a quick image of it, what do you think?
Tuesday, July 21, 2009
4 Quick Tips: Editing Photos in Photoshop for Etsy
If you have been following my blog, you will know that I have been working on my photo formats a bit lately. I thought it might be nice to create a quick post on editing your pictures in Photoshop. So here we go! Keep in mind, that I am in no way a professional photographer; these are just quick tips I use when editing my photos.
Tip 1: Using a color balance card
I don’t know about you, but I have a devil of a time getting my photos to echo the colors I see with my eyes. Even when I change the light balance, I still have red or blue overtones on my pictures. So I have found this quick little tip allows me to fix that problem.
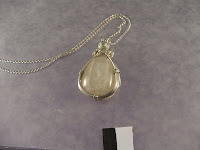
When I take a photo now I place a tiny card on the edge of the photo display; I keep it barely visible in my viewfinder. This is my own version of a color balance card. It contains one stripe of black and one stripe of white. I also continue to set the white balance based on the lighting that I am using (I do have a light tent with professional grade high intensity daylight bulbs.)
Once I take the photo, I can use the card to set the true colors when I edit it later.
Tip 2: Using the levels tool.
This is one of my favorite tools to using in Photoshop. Once I import the photo into Photoshop, the first thing I do is hit the ctrl – L (cmd-L in Macs). This will bring up your levels tool. This tool allows you to specify what color is black, mid-point gray, and what color is white. Your tools should look something like this when you pull it up.
When I am done adjusting my color balance, I then proceed to zoom in a little more with my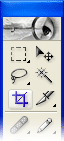 photo. How do I zoom in you might ask. Well I simply crop the photo. Yes this does actually make the photo smaller, but it discards all the unwanted parts of the photo, so you can center on the work in question. You will find your crop tool on the left hand palette. It looks something like this:
Again here is a photo after cropping.
 Tip 4: Healing Brush Tool
If you have read my blog in the past, you will know that I recently rediscovered this wonderful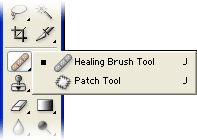 tool. You use it in much the same manner as you would use the clone stamp tool. Unlike the clone stamp tool, the Healing Brush tool merges the textures, colors, and luminosity of both your sampled area and your working area. You can find your Healing Brush tool just below your crop icon. It looks like a Band-Aid.
You can remove scratches and blemishes with ease using this tool. Just be careful to choose a sample area nearby your working area. This will help to prevent noticeable smudges in the picture.
Here are a couple of photos before and after I repaired using the Healing Brush tool.

I hope you have found some interesting ideas in this blog post. Have a great day!
Tip 1: Using a color balance card
I don’t know about you, but I have a devil of a time getting my photos to echo the colors I see with my eyes. Even when I change the light balance, I still have red or blue overtones on my pictures. So I have found this quick little tip allows me to fix that problem.

When I take a photo now I place a tiny card on the edge of the photo display; I keep it barely visible in my viewfinder. This is my own version of a color balance card. It contains one stripe of black and one stripe of white. I also continue to set the white balance based on the lighting that I am using (I do have a light tent with professional grade high intensity daylight bulbs.)
Once I take the photo, I can use the card to set the true colors when I edit it later.
Tip 2: Using the levels tool.
This is one of my favorite tools to using in Photoshop. Once I import the photo into Photoshop, the first thing I do is hit the ctrl – L (cmd-L in Macs). This will bring up your levels tool. This tool allows you to specify what color is black, mid-point gray, and what color is white. Your tools should look something like this when you pull it up.
 The areas I have circled in red are the samplers I use to adjust my photo colors. This is where the color balance card from tip one comes into play. I simply use the white dropper on the white stripe, and the black dropper on the black stripe. This tells Photoshop to use those colors as the set points, ie this is what white looks like and this is what black looks like.
Look at these before and after to see the difference. 

When I am done adjusting my color balance, I then proceed to zoom in a little more with my
 photo. How do I zoom in you might ask. Well I simply crop the photo. Yes this does actually make the photo smaller, but it discards all the unwanted parts of the photo, so you can center on the work in question. You will find your crop tool on the left hand palette. It looks something like this:
Again here is a photo after cropping.
 Tip 4: Healing Brush Tool
If you have read my blog in the past, you will know that I recently rediscovered this wonderful
 tool. You use it in much the same manner as you would use the clone stamp tool. Unlike the clone stamp tool, the Healing Brush tool merges the textures, colors, and luminosity of both your sampled area and your working area. You can find your Healing Brush tool just below your crop icon. It looks like a Band-Aid.
You can remove scratches and blemishes with ease using this tool. Just be careful to choose a sample area nearby your working area. This will help to prevent noticeable smudges in the picture.
Here are a couple of photos before and after I repaired using the Healing Brush tool.

I hope you have found some interesting ideas in this blog post. Have a great day!
Subscribe to:
Posts (Atom)